Method 01 / visual record
How to photograph an inscription responsibly
A useful photograph preserves where the inscription sits, how its surface behaves and what the camera could not see.
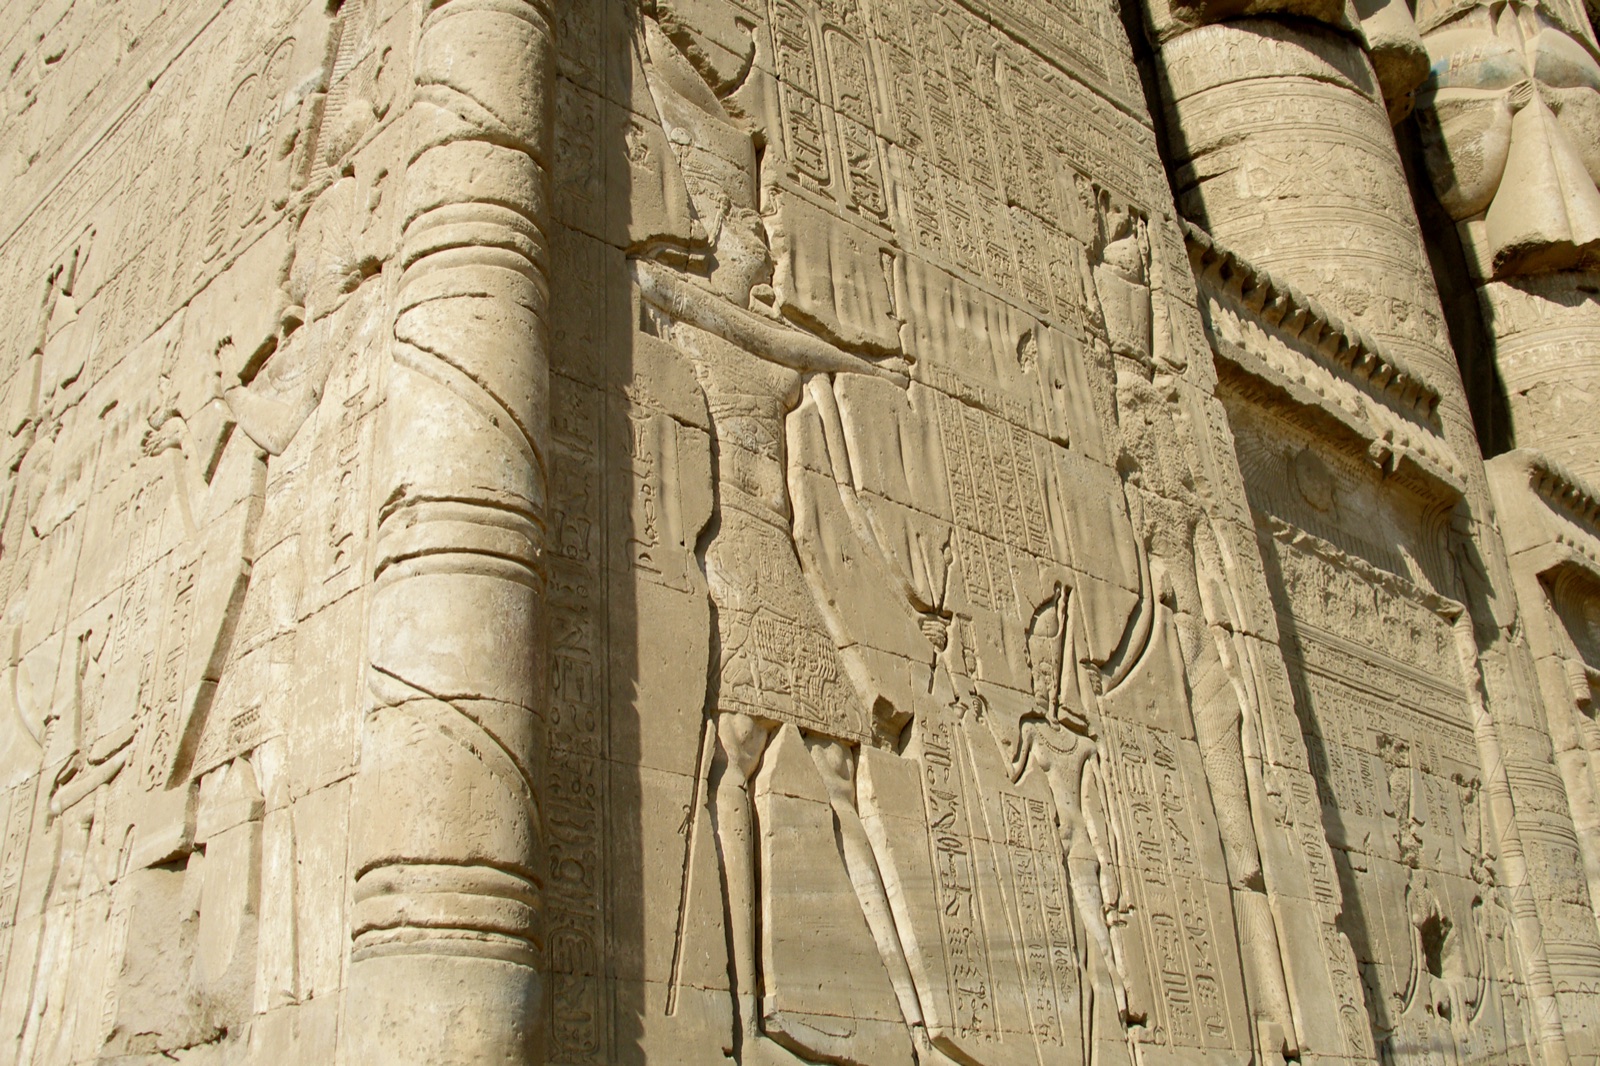
The best inscription photograph is not always the closest. A tight frame may preserve individual strokes while deleting the wall, register, doorway or manuscript opening that explains them. Use a short repeatable sequence and keep notes outside the image. The method works with a phone or camera and does not require touching the object, placing a scale on it or carrying extra light into a restricted space.
Ask before setting up
Read the posted rules and follow staff guidance. Flash, tripods, selfie sticks or all photography may be restricted for conservation, safety, worship or visitor flow. Permission at one site or gallery does not transfer to another. If photography is not allowed, write a location note and use the institution’s authorised images later. Never argue that documentation makes you exempt from the rule.
Make three frames in order
Start wide: show the room, wall, doorway, case or page opening. Move to a middle frame that contains the complete inscription panel or register. Finish with the smallest useful detail, including some edge or neighbouring sign for orientation. Take the wide frame first; crowds, light and access can change before you remember to return. Keep all three even when the detail appears to be the strongest photograph.
Filename note
Use site–area–sequence: dendera-column-wide, dendera-column-panel, dendera-column-detail. Add the official room or object number in your written note, not as an invented filename claim.
Hold the plane as square as access allows
A camera angled sharply across a wall compresses signs and narrows columns. Stand near the centre line where permitted, keep vertical edges vertical, and include a boundary that helps later correction. Do not lean over barriers or block a passage to obtain a perfectly square image. A safe angled frame with its viewpoint recorded is better evidence than a risky “clean” one.
Use available scale
Do not place a coin, hand, ruler or card on historic material. Architectural blocks, the full panel, a museum case or dimensions printed on a label can provide scale without contact. If exact measurement matters, use the official record. Perspective makes objects near the lens appear larger, so a person in the foreground is not a reliable measuring device.
Manage light without manufacturing detail
Side light can reveal shallow carving, while direct sun may create hard shadows. Record the lighting condition and, if movement is permitted, take a second frame from a slightly different angle. In a case, dark clothing and a camera held close—but not touching the glass—can reduce reflections. Never wet a surface or use prohibited flash. Preserve a natural original before adjusting exposure or contrast on a copy.
Write what the frame misses
Note the exact area, viewing direction, height, visible damage, nearby panel number and whether the text continues beyond the photograph. Separate these observations from an official title or translation. That final note keeps a beautiful detail connected to the evidence around it and makes later comparison possible without pretending the photograph is complete.